ESP8266 + Flying Fish Sensor + 128×64 GLCD
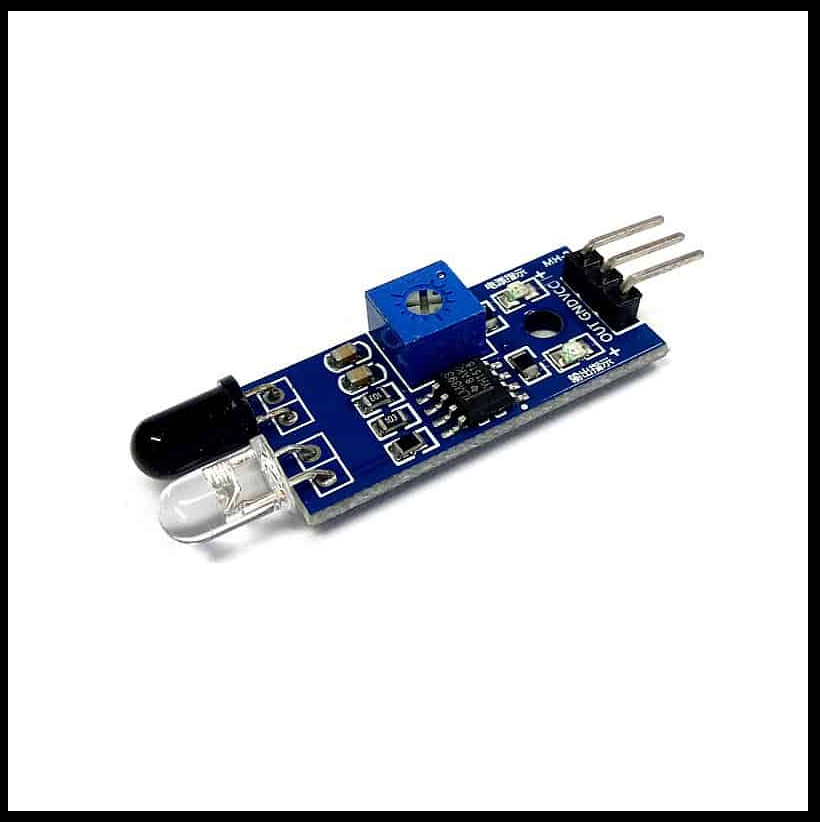
This project shows how to read an analog Flying Fish sensor (A0) using an ESP8266 and display the values
on a 128×64 GLCD using the U8g2 graphics library.
The display updates every 500ms and shows both the sensor reading and lock status.
Components Required
Everything you need
- ESP8266 (NodeMCU or ESP‑01)
- Flying Fish analog sensor (A0)
- 128×64 GLCD (ST7567 / U8g2 compatible)
- Jumper wires
Wiring
ESP8266 → Sensor + GLCD
| Flying Fish OUT | A0 |
| Flying Fish VCC | 3.3V |
| Flying Fish GND | GND |
| GLCD SDA | SDA D4 |
| GLCD SCL | SCL D3 |
| GLCD VCC | 3.3V–5V |
| GLCD GND | GND |
Code Example
ESP8266 + Flying Fish + GLCD
#include <U8g2lib.h>
#include <Wire.h>

U8G2_ST7567_ENH_DG128064I_F_SW_I2C u8g2(U8G2_R0, SCL, SDA, U8X8_PIN_NONE);

const int sensorPin = A0;

bool isLocked = true;
unsigned long unlockTime = 0;
unsigned long lockDelay = 5000;
int scanCount = 0;

void setup() {
	Wire.begin(2, 0); // SDA, SCL initialization
  Serial.begin(115200);

  u8g2.setI2CAddress(0x3F * 2);
  u8g2.begin();
  u8g2.clearBuffer();
  displayStatus();
}

void loop() {
  int sensorValue = analogRead(sensorPin);

  u8g2.clearBuffer();
  u8g2.setFont(u8g2_font_ncenB08_tr);
  u8g2.drawStr(0, 10, "Flying Fish Sensor");

  u8g2.setCursor(0, 30);
  u8g2.print("Value: ");
  u8g2.print(sensorValue);

  u8g2.sendBuffer();
  delay(500);
}

void displayStatus() {
  u8g2.clearBuffer();
  u8g2.setFont(u8g2_font_ncenB08_tr);
  u8g2.drawStr(0, 10, isLocked ? "Locked" : "Unlocked");

  u8g2.setCursor(0, 30);
  u8g2.print("Scans: ");
  u8g2.print(scanCount);

  u8g2.sendBuffer();
}
If your GLCD does not respond, try changing the I2C address from 0x3F to 0x3C or 0x27.
Output
What you will see
Flying Fish Sensor
Value: 512